A couple of weeks ago, I put a picture of my daughter’s science project on my Facebook page. Holy cow, you guys went crazy with likes and comments! So, I thought that her project definitely deserved a post so I could show you all how to do it.
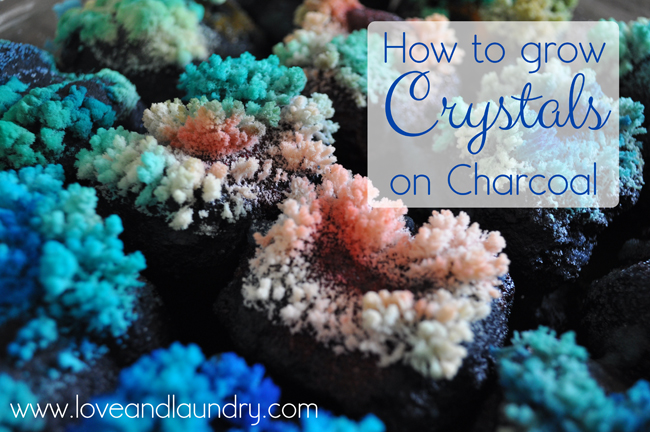
This is a really easy and fun science project. It’s definitely something that requires adult supervision, though. But, I’ll confess. This was almost more fun for me than for my kids!
Here’s what you need:
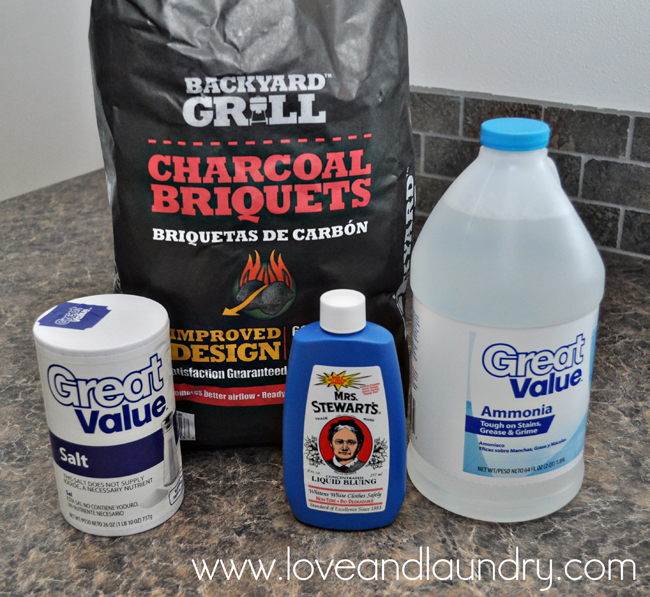
Charcoal (you can also use a sponge)
Non-iodized Salt
Ammonia
Liquid Bluing
Water
Food Coloring (if you want it to be colorful)
Bluing is really interesting to me. When I told my mom that this experiment required bluing, she told me that my grandma used to use it to keep the whites white. I’m definitely going to explore the laundry uses in the future. It’s not as hard to find as I first thought. None of the Walmart’s in my area carried it, but Albertson’s did. At it was only about $3. I know you can find it online as well, but with the cost of shipping it was ridiculously expensive. Also, it is non-toxic and biodegradable. It can be extremely messy, though. Think blue food coloring kind of spill. So, make sure you are helping with the bluing.
So, here’s how you make it. First put some charcoal in the bottom of a glass dish. We tried both whole charcoals and broken charcoals. Both work really well.

Then, spray the charcoal really well with water.

In a mason jar, mix up 3 tablespoons salt, 3 tablespoons ammonia, and 6 tablespoons bluing. I’m not going to lie. This part smell really strong! My kids had a hard time with the smell and at one time went running for the hills just to catch their breath. (It smells like what I would imagine bleach and ammonia smelling like. Not that I know for sure what that’s. And please do NOT try mixing ammonia and bleach together!)

To mix them, we put the lid on and shook the ingredients really well.

Now, pour the liquid ingredients evenly all over the charcoal.

Lastly, sprinkle 2 tablespoons of salt evenly over the top.

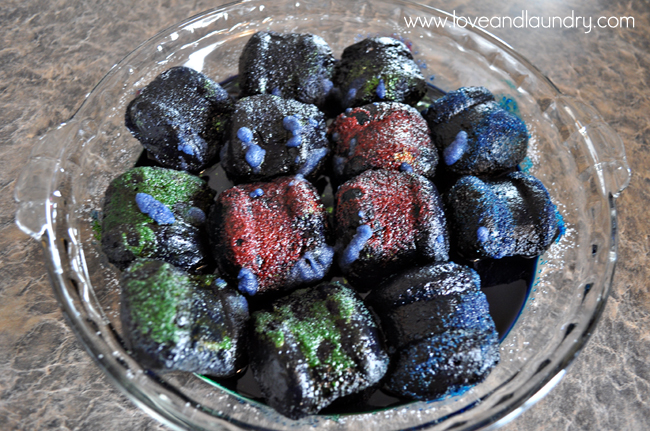
You can stop there and the crystals will grow white. OR, you can add drops of food coloring all over and get a colorful crystal garden!

Now just wait…..
This is right after we got finished preparing the crystal garden:
After 12 hours:

After 24 hours:

To keep the crystals growing, every two days mix up 2 tablespoons of water, 2 tablespoons of bluing and 2 tablespoons of ammonia then pour around the base of the charcoals.
It’s really so fascinating to watch these grow!
shelly says
Very great idea. I pinned it!
Tiffany Hinton says
Love this! Thank you for sharing – we will be trying this at home
Christa @ Controlling Craziness says
Cool. I love the fast results.
Rachel {RandR Workshop} says
This is awesome! and looks fun too :)
Totally pinned this!
TitiCrafty says
Wowwww so cool!!! It’s amazing! Why didn’t my teaches make do that???? Apart form the smell it seems to have been a lot of fun!!!
Pinned!
XOXO
Yosefa's Headbands says
Great tutorial! Thank you. Do you think this will work with lemon ammonia? (That is what I have at home and I want to know if I should go out and buy regular for the project to work.)
Shatzi @ Love and Laundry says
I’m not actually sure if it would work because I’ve never tried it that way. But, I do think it would probably work. It’s definitely worth a try.
Anonymous says
Hey I’m doing a Science Project in a classroom and my crystal are growing. You and I have the same things.
Anonymous says
lol making this project its so fan
Anonymous says
Love it! I am totally doing this as my science fair project! Thank you!
Anonymous says
Is there any way to substitute the bluing with something else? I can’t find it anywhere in my area!
Linda says
Thanks for the recipe. e and clearly shown just how to do it in steps! Used to make this many years ago (about 50 in fact) and have looking how to remember the recipe. Cheers. L
Love and Laundry says
Yay! I’m glad I could help! It’s a fun project to do…especially with kids!
Shannon says
Do you think this would work without the ammonia.i would love to do this with my library science program but definitely dont want to have the kids using ammonia in the library. Would it work if i added ammonia later?
Love and Laundry says
I would actually recommend pouring the ammonia over the charcoals before you take it to the school. I’ve never done it that way before, so, personally, I would experiment with one beforehand. Maybe pour the ammonia on and wait a while. Then add the rest of the wet ingredients. Hope that helps!!! Have a great time with your experiment!
Rae says
I remember making these in my fourth grade class. My son will love doing this.