Hello out there in blog land! I’m Justynn and I blog over at Creative Life Antics. I’m a young 20-something do-it-yourself graphic designer that spends her way too short weekends baking, crafting and re-imagining items. I’m so honored to be here today blog-sitting while Shatzi is away and can’t wait to get started!

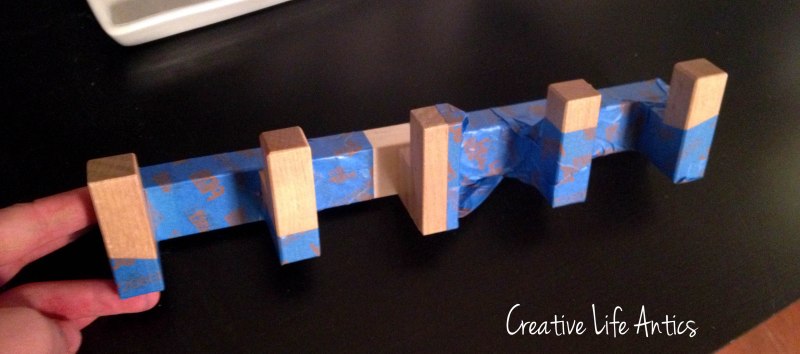
See, anywhere that wasn’t taped off would get a coat of paint. My first thought was “RED” or “BRIGHT COLOR” but I was able to talk myself to just doing white. I chose to use spray paint, but you could easily just used craft paint. I sprayed a few lights coats, removed the tape and voila! Custom coat rackdog collar rack for the back door. I hung that baby up and It’s made quite the impact on that bare wall.


Thanks so much for reading about my quick DIY and I hope I get to see some of your bright and smiling faces again soon! Have a great day!