We’ve lived in our house for around nine years. We bought it brand new. In fact, we committed to buy it just after it started construction so we got to have a pretty big say in paint colors, tile, carpet, etc. We bought kind of a middle of the road house. It was new and very affordable, but we decided to forgo some of the expensive upgrades. We decided that rather than pay for those in our mortgage payment, we could always update later and pay out of our pocket. And we have done that quite a bit. We finished our basement, put our yard in, built a beautiful deck on the back of our house, and much more. And we are continuing to do that.
One of the things with our house is that all three bathrooms came with a tub/shower combo surround. But, trust me when I say that compared to our old house, we were definitely excited about it! And they have worked wonderfully. I love how easy to clean they are and there is really no maintenance that might come with a full tile shower. There’s only been one big complaint and it’s something that I honestly would never have even noticed. My husband Dave is 6’1″ tall. In fact, I remember when we were looking for houses, one of the things that he kept checking was that the shower head was high enough. And this one is. But, can you see where the shower head is located.
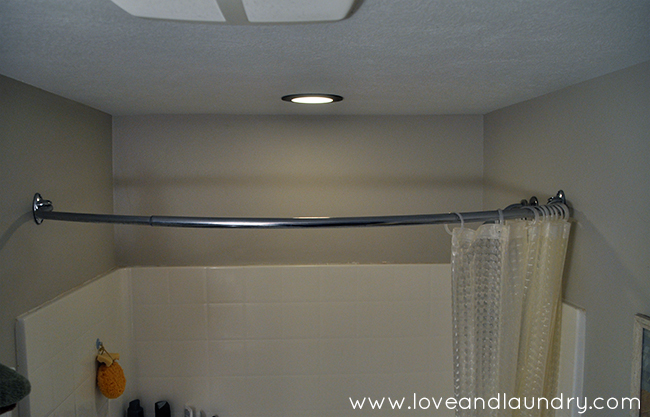
Okay, probably not because I wasn’t writing this post when I took the photos. It’s even with our shower rod (right behind the shower curtain). Which means that all of our water heads out right by the drywall and the paint. If you’re 5’3″ like me, you’re not tall enough to splash that much water on the wall or the paint, but at 6’1″, you definitely are.
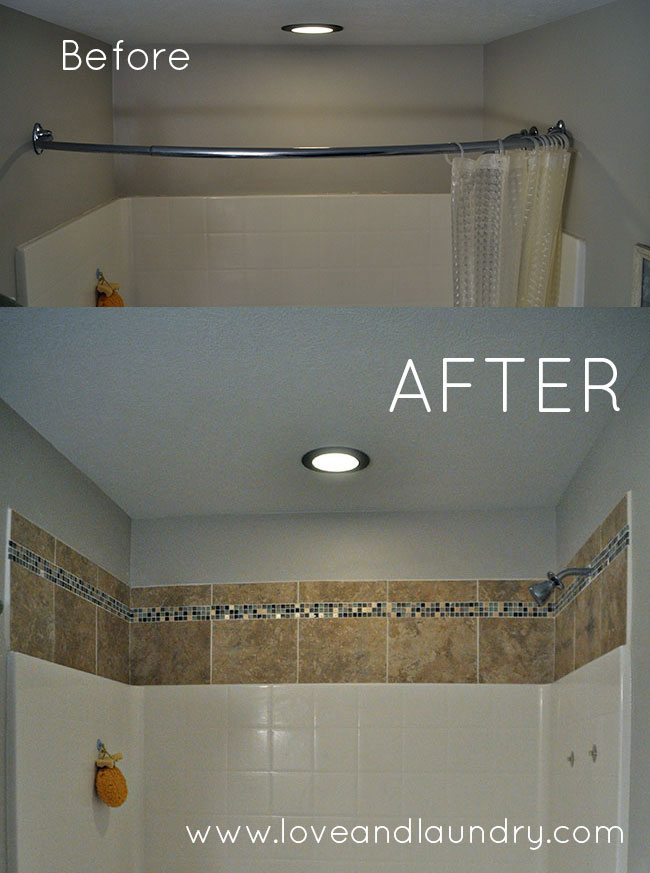
A full bathroom re-haul is definitely not in the budget nor do we have time for that. But we did want to do something to prevent any water damage or mold problems in our drywall. If you know Dave, you know how much of a problem solver he is. I really don’t think I’ve ever seen his brain shut off and he’s always coming up with ideas that I would not only have never heard of, but I’ve never seen them before. So, over his spring break, he decided that we should add some tile above our shower surround.
I wasn’t sure at first how much I would like it, but usually I end up loving his ideas, so I jumped on board and we headed to Home Depot to pick out some tile. Oh my word, there is so much tile that I loved! I really, really wanted some modern looking grey tile, but our floors and vanity have more of a brown/beige look. We definitely needed something to match that or it would have looked weird. The other thing was that we wanted a main tile color and an accent. Some of the accent pieces I loved were way, way expensive. Like 4 or 5 times the cost of the big main tile pieces! I could see what should be inexpensive turning into hundreds of dollars. If we were going to spend that much, we might as well go all out. But, we didn’t want to.
So, we spent quite a while at Home Depot looking at different tiles and this is what we ended up choosing.

I didn’t take note of what the tile names are. If I get any questions, I’ll try to go back and update this later.
To save some money, we used 12×12 tiles and cut 3″ off one side so that we ended up with a 9″ piece and a 3″ piece of the main tile. We even got 12x12s of the accent tiles. It was a fraction of the cost to do it that way and I just took some scissors and cut about 2″ off (so that there would be three rows of mosaic tile).
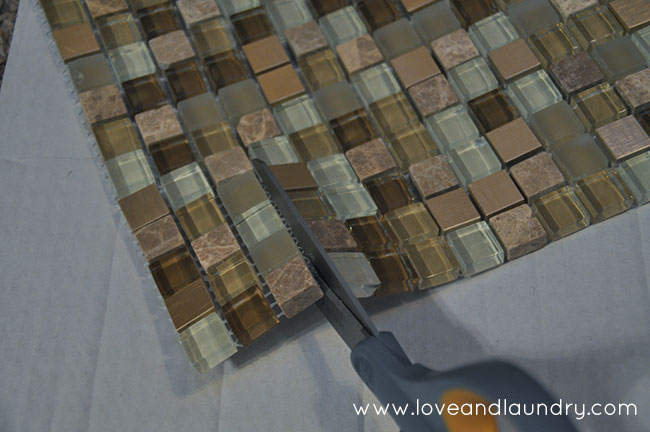
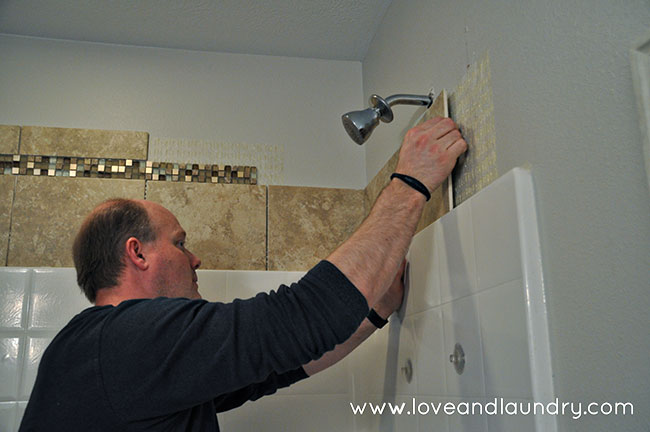
For this small of a job, I really recommend using something called Simple Mat
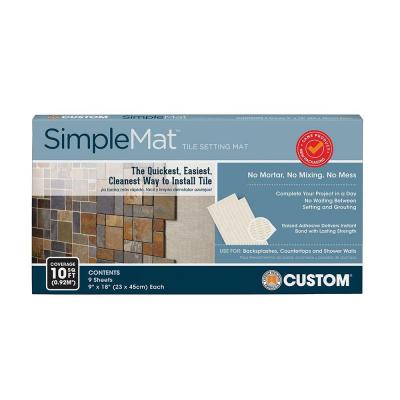
You can get it at Home Depot and I think it runs somewhere around $2.50 a square foot. It comes in boxes, so you’ll end up spending about $25 for 10 square feet worth. Using this eliminates the need for thin set mortar on the back wall and it holds super good! We misplaced a tile and it took some pretty good muscle to get it back off so we could place it right! You can see the SimpleMat on the wall. It’s really, really sticky adhesive and it’s a lot cleaner than using thin set!
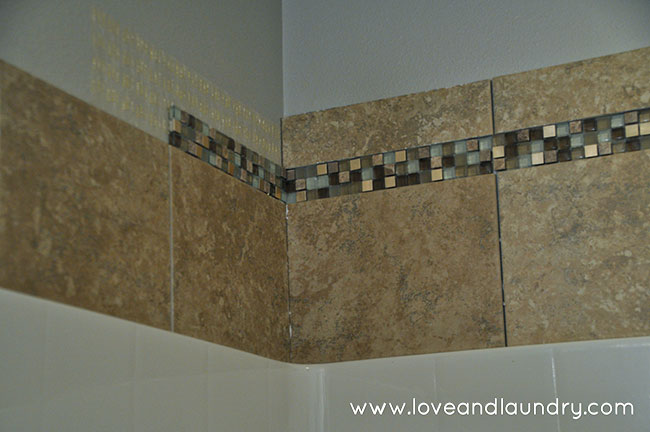
We also are pretty big believers in the pre-mixed grout that is made for places that get wet. It dries really fast, so you have to work pretty fast. I can’t stress that enough! We worked as a team. Dave put the grout in and I followed close behind with a sponge. The reason we love it so much is because it comes with a sealer ingredient already in it. You can feel it when you’re putting it on – it’s kinda sticky! But I can tell you that it is very water resistant. When it’s dried, it cleans off almost as easy as plastic would. We used in on our kitchen backsplash and loved it so much, we bought it again for our bathroom.
I don’t have any grouting pictures because I was so involved in the process, but if you’ve grouted before, you know the drill! I would recommend taping along the top of the tile with wide painters tape. It makes the edge a lot more smooth and clean up a lot easier.
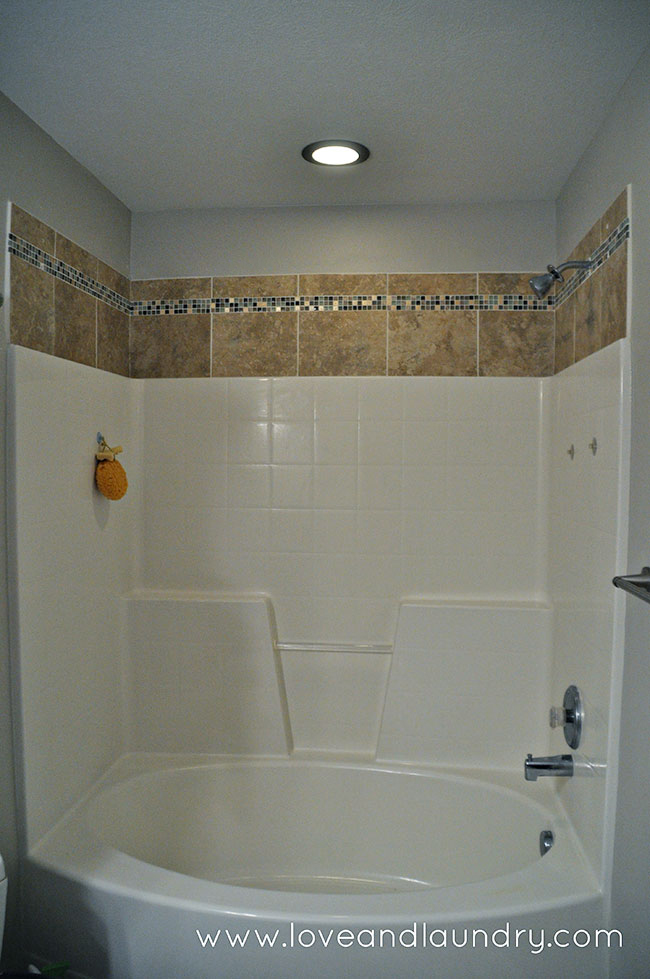
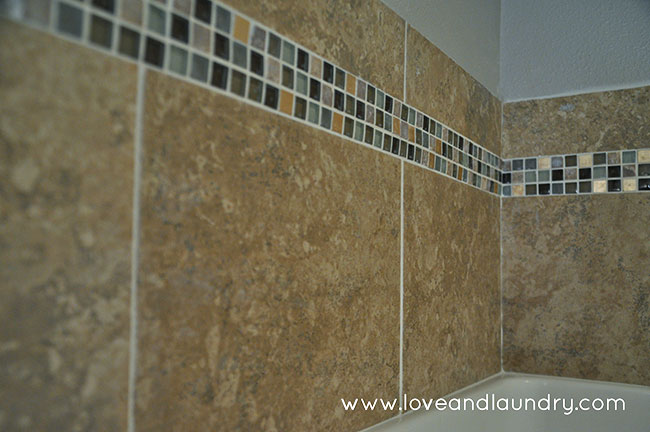
I really love how it came out! It’s just a small upgrade, but it really adds a lot to our bathroom. And now it is also protecting the walls! I’m pretty sure that we’ll do the same thing in our other bathrooms.
Brittany says
It looks so great! What a super idea!
Linda says
I used the same trim tile. I like what you did, looks really sharp.
Linda
Linda recently posted…What’d You Do This Weekend? #121
BArbara says
I love this idea but I live in a rental property. How hard would this be to remove if I move out. Thank you.
Love and Laundry says
It’s definitely not temporary. I would recommend talking to the property owners. They may even offer to pay if you put it in! Hope that helps!!
Phillius Thomas says
Mold in the dry wall is terrible. It can make you so sick to have that there. Plus, if you don’t take care of it right away your wall is basically ruined.
Phillius Thomas says
That is a really nice looking tile trim on the shower! It looks like it wouldn’t be difficult to clean either, which is nice. So many will get things that are hard to clean.
Drew says
What a creative idea! I love what you did with the tile. I didn’t picture it looking that good when I first started reading. Thanks so much for sharing and great job!
Drew recently posted…Deluxe Porcelain Tile is new from Marca Corona
Albert Smith says
Your bathroom is gorgeous! I especially love that tub!! I’m an occasional bath taker but would probably live in that tub!
Albert Smith recently posted…AKDY® 185 Nozzles 3-way Overhead Rainfall Shower Head
Online Plumbing Supplies Australia says
I love your bathroom! It’s fabulous. I love your idea. You’re very creative. Thanks for sharing!
rox says
How did you finish off the tile edges that line up with the edge of the surround- is that just grout?
Jesse says
That is a truly decent looking tile trim on the shower! It would appear that it wouldn’t be hard to clean either, which is pleasant. Such a variety of will get things that are difficult to clean.
Heather says
Wow, this turned out great! Even a thin strip of tile can really transform a bathroom, and it keeps your walls from getting mildewy too. Thanks for sharing!
Floyd says
How difficult was it to put the curved shower rod back on? This is wat I want to do to my shower.
Thank You
Love and Laundry says
We actually cut holes in the tiles where the curved shower curtain was already installed. Since we knew where they were, we tried to line up the edges of the tile next to where it needed to go so it wasn’t very hard to cut the tiles. WE didn’t use a tile saw – just a small tile cutter and it worked fine. So, to answer your question, it really wasn’t that hard. Hopefully that helps!
online plumbing supplies says
Wow, this is a great idea and great looking tile trim on the shower! Thanks for sharing.
Victoria Luisus says
Its looks amazing, you did a great job! I am thing to update shower tile something similar. Thanks for sharing!
Marsh says
How is it holding up? Asking because you used simple mat to hold up the tiles in a place where there’s lots of moisture.