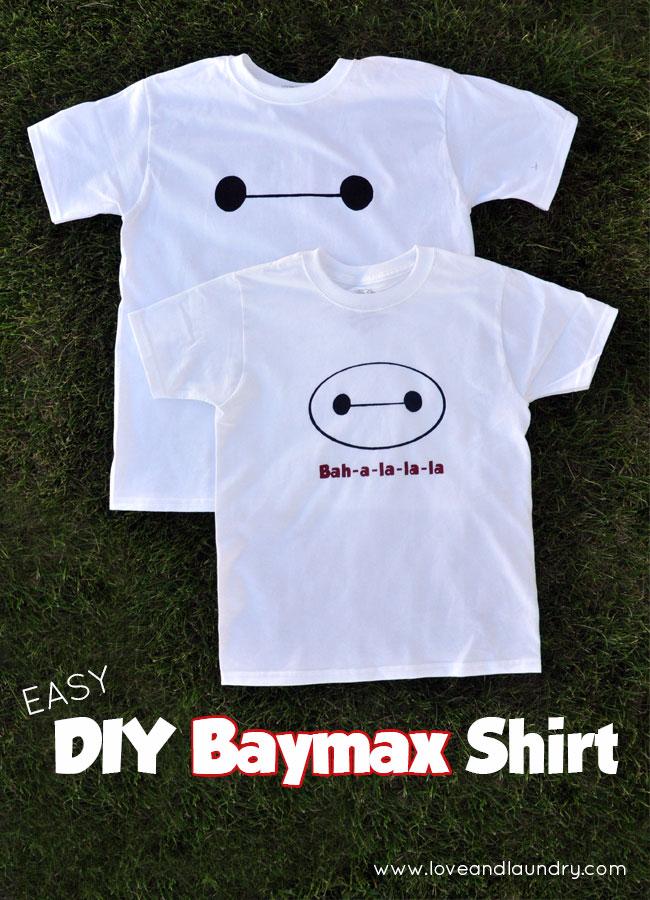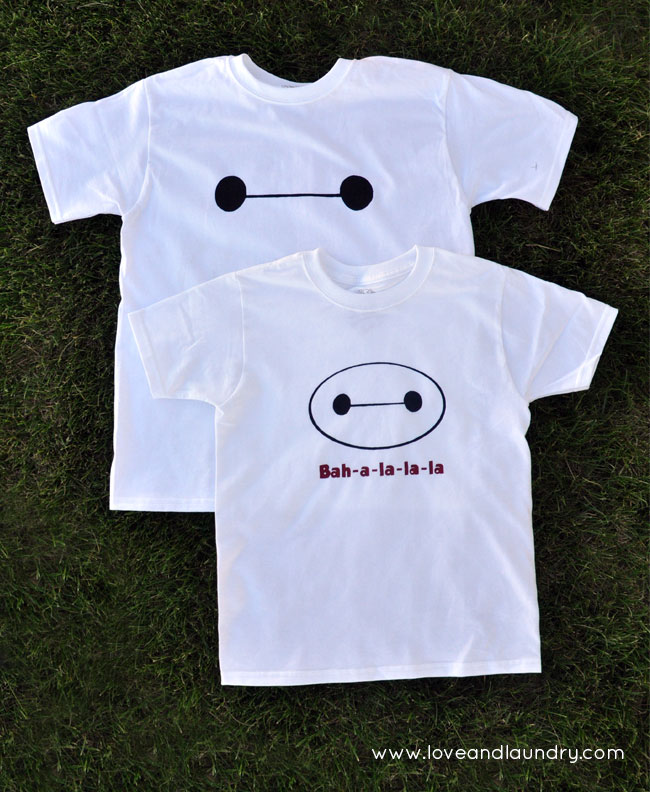

I was so excited when Rachel from R&R Workshop asked me to be a part of her Month of Disney series! Rachel is seriously one of the sweetest people and one of the few bloggers that I know in real life! Her blog is chock full of creativity, so if you haven’t been over, you should definitely go take a look! For my contribution to the Month of Disney series, I decided to make some easy DIY Baymax shirts for my boys. We love Disney at our house, but we don’t have any little girls who love Disney Princess stuff. Bria is our oldest and she is almost 12 so she has long outgrown the dress up stage. When Big Hero 6 came out, it was a huge hit with our family. Our boys loved it and it was just enough girl for Bria to jump on board as well. And I am not kidding when I say that my boys have worn these shirts since I got done making them! And they really are super easy and pretty inexpensive.
Here’s what you need:

- White t-shirts
- Fabric Paint (I used black and red)
- Vinyl or freezer paper with the Baymax Designs cut out
I used my Sihouette Cameo to cut the vinyl out. If you have a Silhouette, I’m sharing the files I created for you to download and use!
Baymax Bah-la-la-la (Silhouette)
If you don’t have a Silhouette Cameo, have no fear! Here’s the PDF files that you can download and use instead! You can trace these onto Freezer Paper and iron that onto your shirt to use as a stencil instead.
I love using vinyl as stencil for t-shirts. I do this quite a bit when I’m in a pinch for a custom t-shirt. The first thing you need to do (after you have the vinyl or freezer paper cut out) is put it on the t-shirt

I always use transfer tape! Especially if you have small letters. It almost impossible to place it correctly without transfer tape! After I put it on, I smooth it out just like I would with vinyl on my wall.
After the vinyl is on nice and straight, then put something inside the t-shirt so that your fabric paint doesn’t bleed through. I used a paper sack.

Then, paint away! I usually dab the paint on to help prevent it bleeding underneath the vinyl, although I’ve never had that problem before.

After all the painting is done, just peel away the vinyl. I don’t usually wait until it’s dry, but if you peel it away when it’s still wet, you definitely will want to make sure that the wet paint on top of the vinyl doesn’t accidentally touch the t-shirt. 
For the tricky small letters, I peel away all the big vinyl first, then go back with a straight pin and carefully grab the rest. Just really be careful about smearing the paint!

And that is that! A custom DIY and super-easy-to-make Baymax shirt! Now, if I can find a way to get my boys to let me wash them…..

Now, I know that if you’re here, you love Disney as much as I do! And the good news is that this is a Month of Disney Series with tons of bloggers participating! Just check out all the other links below to see what everyone else has been up to!
[inlinkz_linkup id=526637 mode=1]
Paige says
That’s so cute and looks pretty easy. Thanks for sharing how to do it!
Paige recently posted…Hello world!
Carley says
Thanks for sharing the files!