I received free product in exchange for this post. All opinions are completely mine!
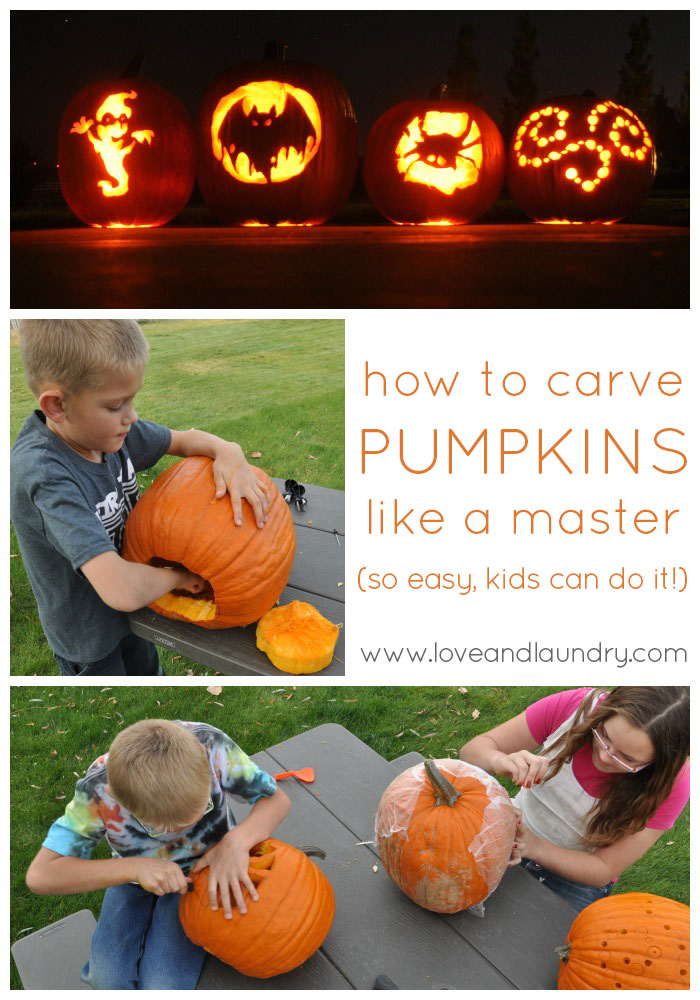
I love fall! And I really love all of the fun activities that come along with it. Like carving pumpkins. But, I’ll tell you a secret. Okay, it’s not really a secret, it’s just plain old admitting the truth. Carving pumpkins has almost always been one of my favorite Halloween traditions, but I stink at it as a mom. I probably average one in every three years carving pumpkins. And the years we have carved pumpkins? It’s almost always been ON Halloween! So, there’s pretty much no time to enjoy them all lit up. I know! Such a mom fail. But truthfully, if I’m going to fail at something, there could definitely be worse things.
As our kids have gotten older, I’ve been bound and determined to change this half-hearted effort I’ve made. And every time I think of my kids with knifes, I remember my twelve year old self getting a deep and nasty cut on my finger from carving Halloween pumpkins. I still have the scar to remind me. I do not want to repeat that with any of my kids! I remember my bad experience very vividly.
So, what is a mom to do? Thankfully there is a pretty awesome answer! I got the chance to try out some fun Pumpkin Master’s pumpkin carving kits. As soon as Max even saw a picture, he was so excited!

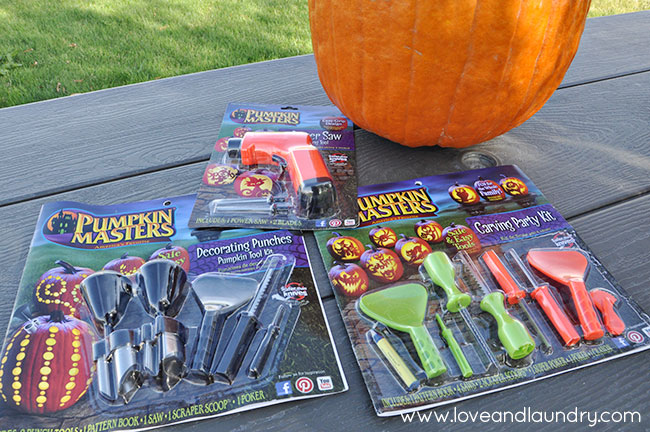
Then the kits came in the mail and the kids all spent hours thumbing through all of the patterns choosing which one they wanted to use on their pumpkin. And of course calling dibs on who got to use the Power Saw first. They could hardly wait until we could finally dig into those pumpkins.
We’ve had an exceptionally warm fall here. I’m grateful for every warm day we have because Idaho can have some brutal winters. Since it’s been so warm, we headed out to our backyard to carve them. Less mess for me and more chance to enjoy the sunshine.
The thing I loved about the kits is they have detailed instructions giving tips on how to carve the BEST pumpkin you can. The first tip? Cut your opening circle on the BOTTOM of the pumpkin. Genius!! Then when you light them, all you have to do is put the pumpkin over the light instead of reaching inside of the pumpkin. Also, it helps the bottoms be more level which stabilizes them.
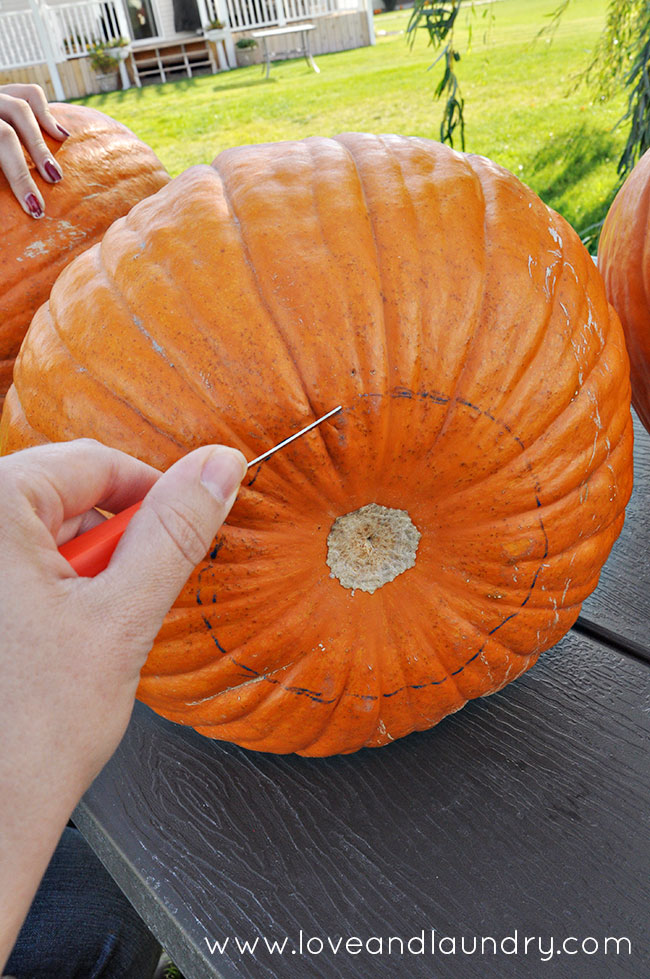
We used the crayon that came in the Carving Party Kit to draw a circle.
Each kit is full of fun patterns that make carving intricate designs a lot easier. The pattern shows the difficulty level so it was easy for me to help my kids pick one that I thought would be closer to each of their levels.
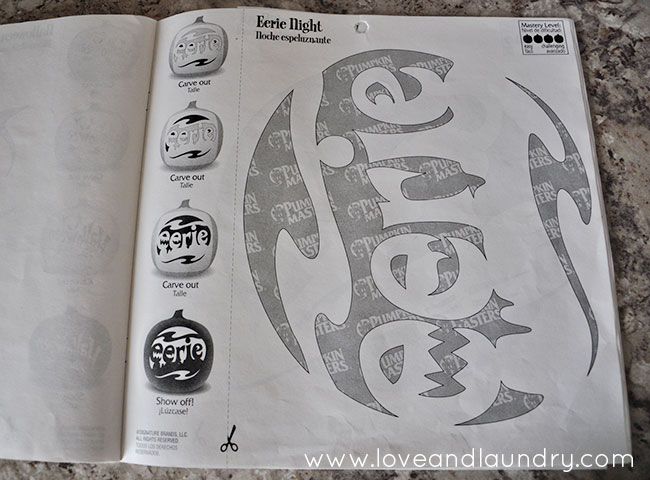
Logan chose an easy one. It was a cute spider.
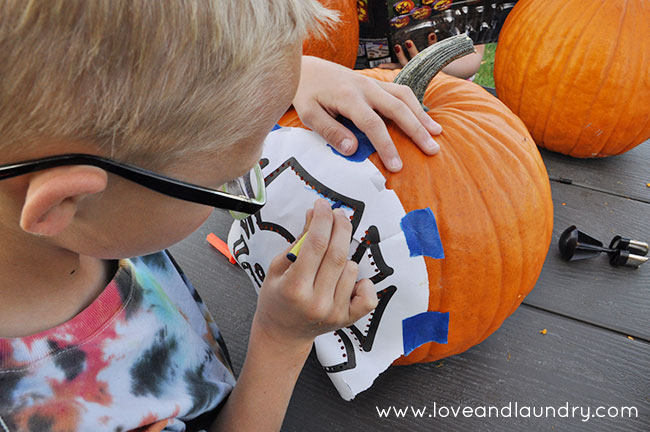
We taped the pattern on and he just had to color in the circles. After we took the pattern off, I used the crayon to connect all of the little dots giving him an easy to follow line.
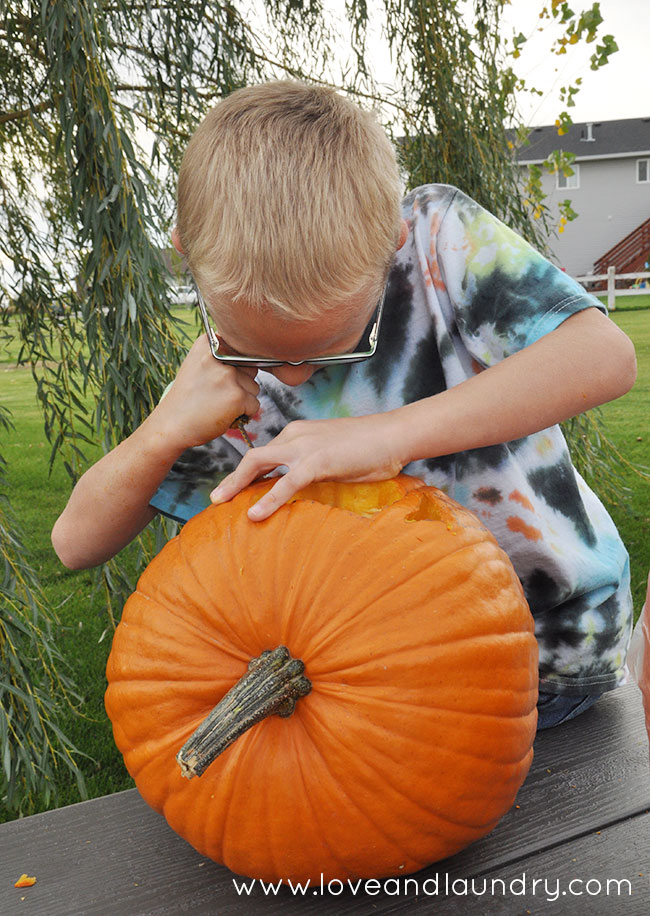
The knives that come with the kits are really safe. I didn’t hesitate even for a minute to let my kids use them. I did wonder if I would have to help a lot, but it turned out that they all pretty much had it on their own.
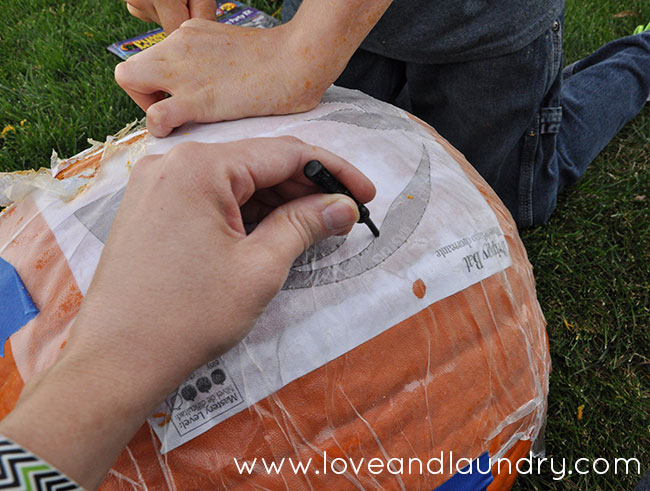
Bria chose a ghost and we followed the instructions for getting the pattern wet and attaching it to the pumpkin. Normally, it suggests using plastic wrap, but we were out and used a press and seal wrap to keep it in place instead.
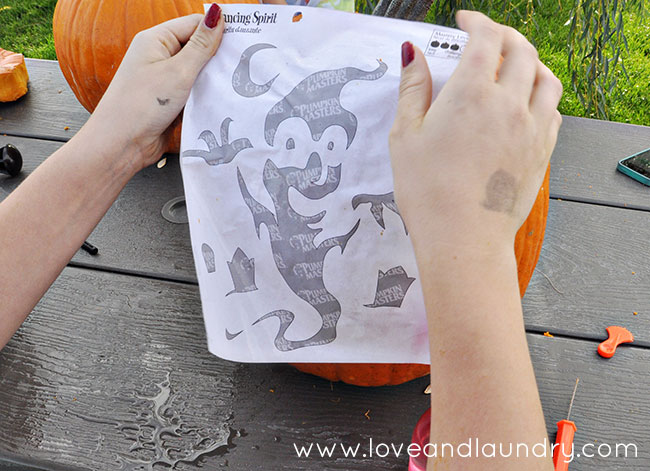
It took kind of a while for them to get their pumpkins finished. They worked so hard!
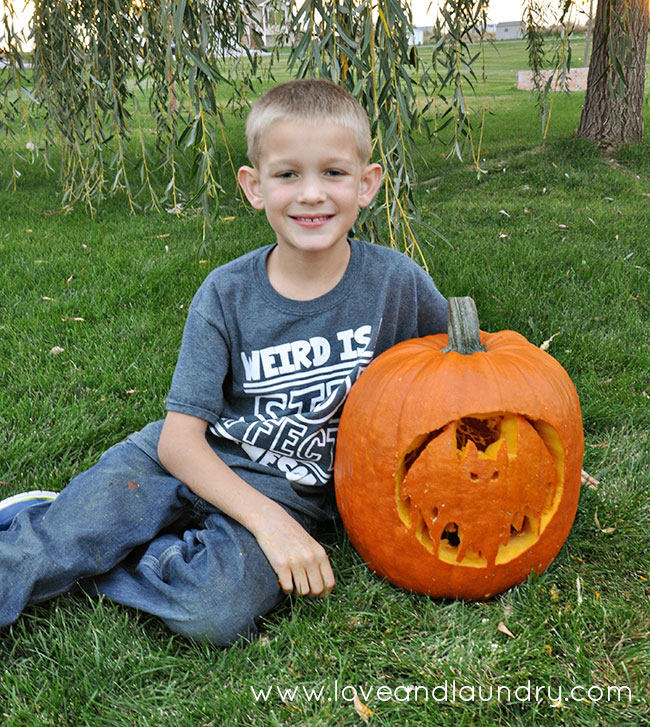
Max chose a bat. He definitely picked the hardest pattern. That kid practically laughs at any sign of difficulty. He is so willing to try anything – especially if he thinks it will be a challenge!
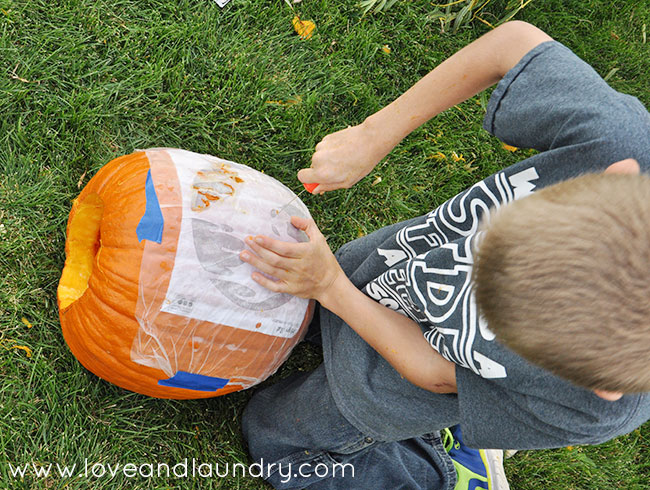
We learned a good trick with his when he was getting a little bit frustrated and I would actually recommend doing it this way. We took the little poking tool and poked little dots in the pumpkin along the pattern lines. Then we took the paper off and he just followed the dots to carve lines. We didn’t do this but it would be a good idea to take the crayon
and trace around the dots so that it doesn’t get confusing and you accidentally cut through a place that you weren’t.
I did a pumpkin myself, too. I used the Decorating Punches which I love, love, love! And of course I didn’t get any good in progress pictures of mine. I was too busy helping, taking pictures, and carving! Haha! The best I could find was this shot of the kids working. Mine is in the lower right corner.
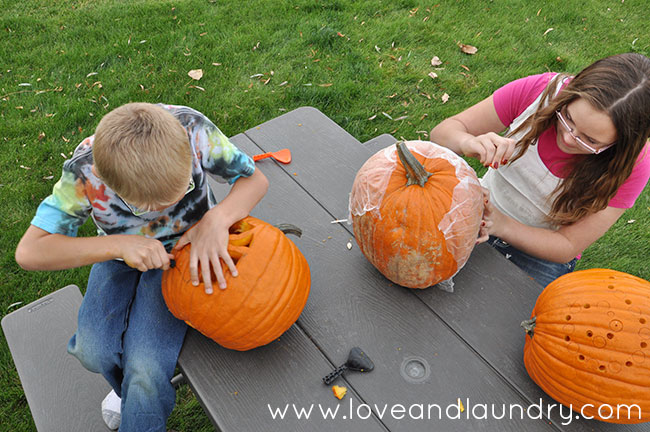
All of the pumpkins turned out so good! Like better than I’ve ever seen our little family even get close too. And all of my kids did their own. Completely by themselves. Even Logan and he is 6!
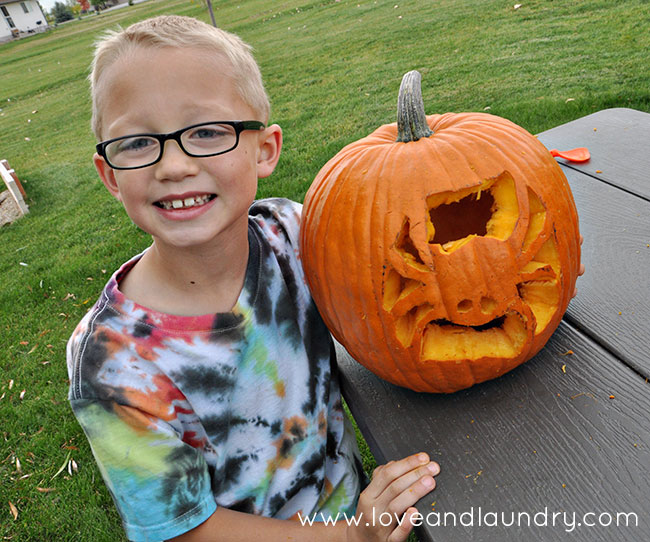
Look at that pumpkin! A SIX year old carved it. By himself! I’m pretty impressed!
Here’s Max’s pumpkin. He was so proud when he finished! His took the longest and he was outside by himself finishing up for a while. He just couldn’t quit smiling when he got it done.
And Bria’s.
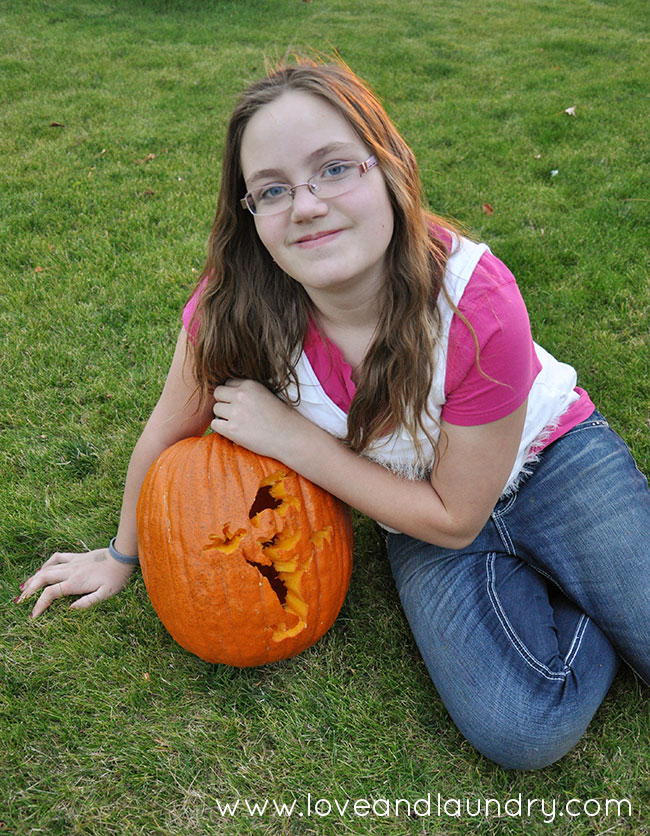
Hers is a little bit harder to see in the light, so of course I wanted to do a shot of all of them in the dark.
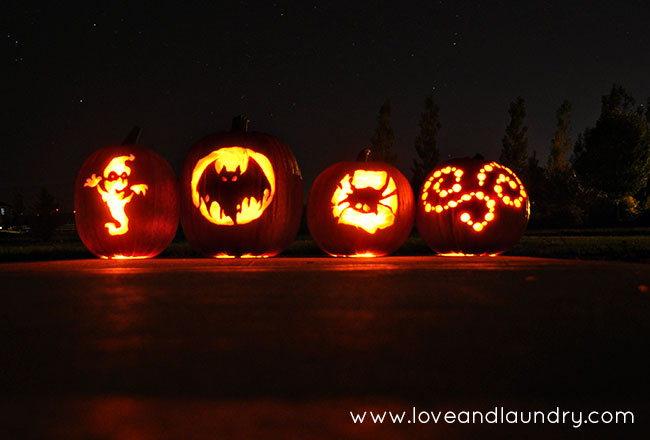
Aren’t they awesome! Without these fun kits from Pumpkin Masters I never could have been able to do this with my kids. One mom (their dad was at work) with three kids and knives? No wonder I haven’t been that into carving pumpkins in the past. But with these safe knives that take away my worry of the kids cutting themselves, we were able to have a great time and make amazing memories!
[…] Love and Laundry […]